Hello everybody, it's Jim, welcome to our recipe site. Today, I'm gonna show you how to prepare a special dish, Rilakkuma Nerikiri. It is one of my favorites food recipes. For mine, I will make it a bit unique. This will be really delicious.
Rilakkuma Nerikiri is one of the most favored of current trending meals in the world. It's easy, it's quick, it tastes yummy. It's appreciated by millions every day. They're nice and they look wonderful. Rilakkuma Nerikiri is something that I've loved my whole life.
Many things affect the quality of taste from Rilakkuma Nerikiri, starting from the type of ingredients, then the selection of fresh ingredients, the ability to cut dishes to how to make and serve them. Don't worry if you want to prepare Rilakkuma Nerikiri delicious at home, because if you already know the trick then this dish can be used as an extraordinary special treat.
To begin with this recipe, we have to first prepare a few ingredients. You can cook Rilakkuma Nerikiri using 7 ingredients and 12 steps. Here is how you can achieve that.
I wanted to come up with some sweets using colorful nerikiri.
For white red bean paste, seeFor a standard nerikiri recipe, seeIf the black sesame paste is too watery, it won't attach well enough to the face, so be careful. Recipe by decocookie
Ingredients and spices that need to be Make ready to make Rilakkuma Nerikiri:
- 60 grams Nerikiri
- 1 dash Red nerikiri
- 1 dash Yellow nerikiri
- 30 grams Koshi-an
- 1/2 tsp Instant coffee
- 1/2 tsp Cinnamon
- 1 dash Black sesame paste
Instructions to make to make Rilakkuma Nerikiri
- Put the koshi-an into a heatproof container and microwave at 500 W for about 20 seconds.
- When some of the moisture has come out and it becomes easy to handle, divide into 2 equal portions and shape into oblongs.
- Set aside some white nerikiri for the mouth, eyes, and nose.
- Divide the remaining white nerikiri into two pieces (one for Rilakkuma, one for Korilakkuma).
- Put one piece of Step 4 into a bowl with the instant coffee and cinnamon and mix well. Don't dissolve the coffee in water.
- Pull off two pieces of Step 5 to make the ears. Roll up the remaining amount, then roll flat with a rolling pin.
- Roll the koshi-an into a barrel, then wrap with the flattened nerikiri, spreading the nerikiri as needed to cover it smoothly.
- Attach the ears, and adjust the shape. Take one of the pieces you set aside in Step 3 and make the white oval for the nose and mouth background.
- Then, take a piece from Step 3 and mix with the black sesame paste. Use it to make the facial features.
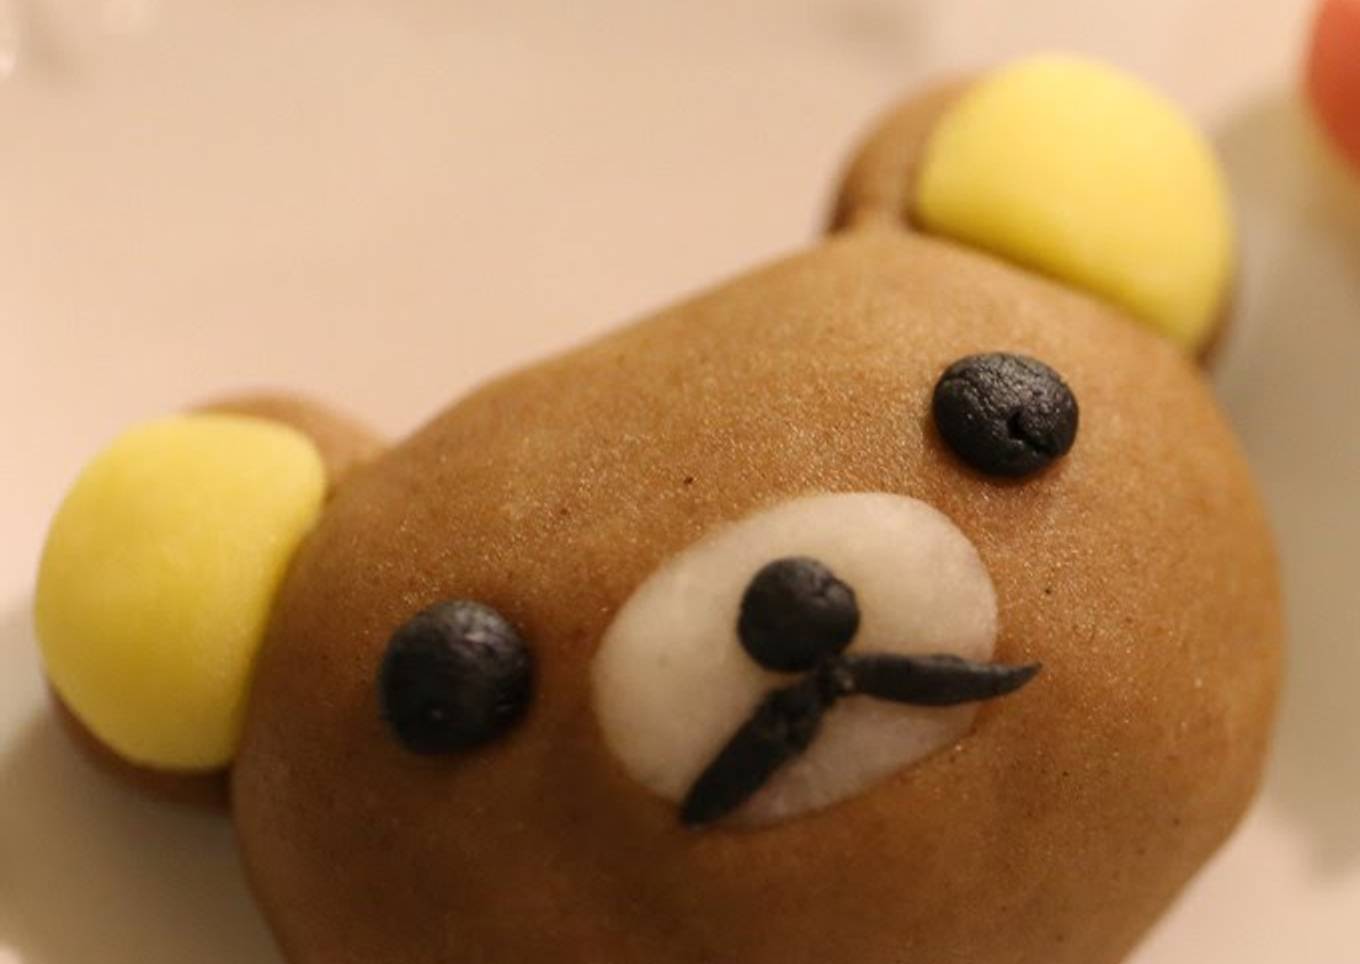
- Attach the eyes, nose, and mouth.
- Use the yellow nerikiri to make the yellow parts of the ears, and it's done.
- Make the Korilakkuma in the same way, using the red nerikiri to make the ear parts.
As your experience and self-confidence grows, you will locate that you have much more natural control over your diet plan and also adjust your diet to your individual tastes over time. Whether you want to offer a recipe that uses less or more active ingredients or is a little basically zesty, you can make basic modifications to attain this goal. In other words, begin making your recipes promptly. As for basic food preparation skills for novices you don't need to learn them but only if you understand some simple food preparation techniques.
This isn't a complete guide to fast and also easy lunch recipes but its good something to chew on. Ideally this will certainly get your innovative juices streaming so you can prepare delicious meals for your family without doing a lot of square meals on your trip.
So that is going to wrap it up for this exceptional food Recipe of Quick Rilakkuma Nerikiri. Thank you very much for reading. I'm confident that you will make this at home. There is gonna be interesting food at home recipes coming up. Don't forget to bookmark this page in your browser, and share it to your family, colleague and friends. Thanks again for reading. Go on get cooking!
0 Post a Comment
Post a Comment